
Blog developing
Initially, before starting to implement the current website, I had written just one component in React. With this background and strong motivation to do something during my vacation, I started my frontend journey 🛣️.
Design Decision
Basically, the first question that arises in every project is: Where and what should I start with first?
In order to answer this question:
💡 You need to have a clear vision of your goal before you start doing things.
As I described earlier in my first article, my main goal is to share knowledge. I don’t need super-fast responses or dynamic page updates right now. I only need the ability to publish articles and share knowledge with others. Everything else can come later.
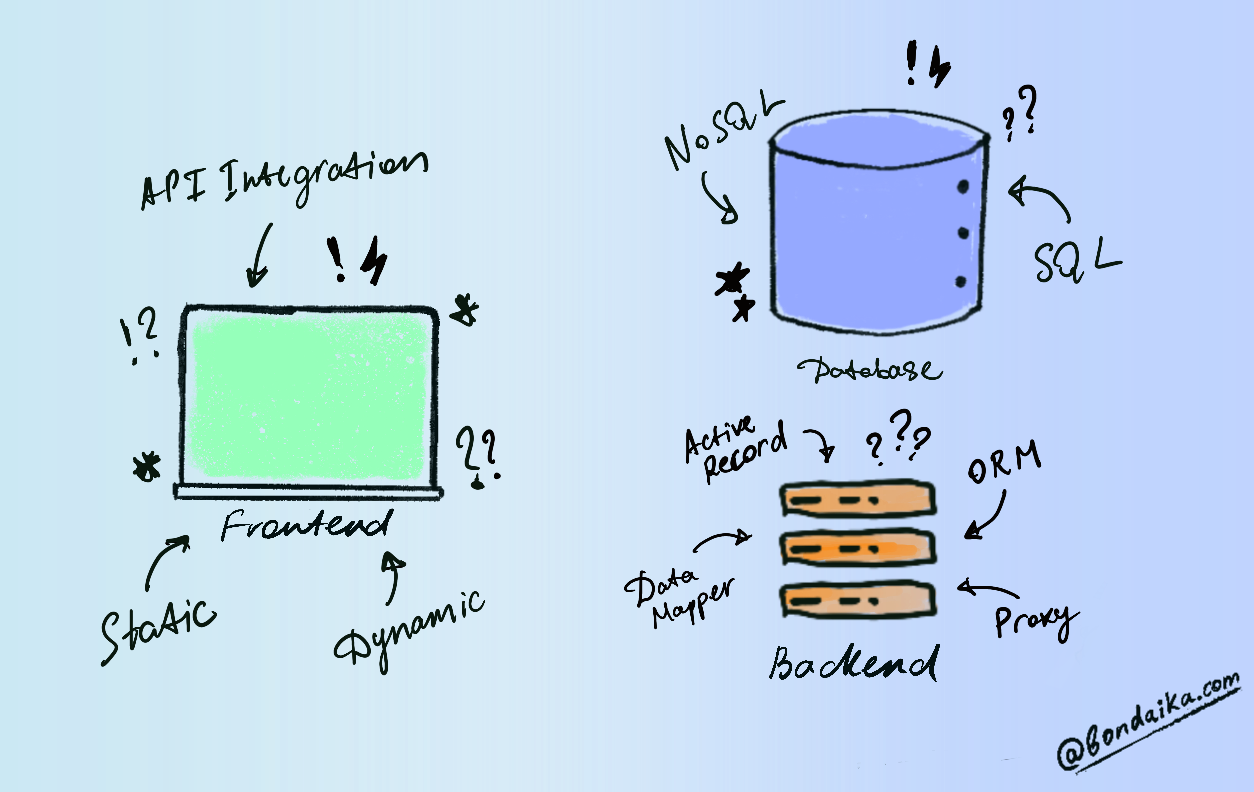
So, I used the MVP Approach (I highly recommend reading Henrik Kniberg’s post about MVP). I dropped all unnecessary details like the database, backend, and other complexities, and built the website entirely on the frontend.
Dig into Frontend

At the beginning, I started using React with CSS without knowing what metadata was or how I could change the funny preview "website created using create-react-app" 🤣. Even for a frontend newcomer, the code was straightforward, and you don’t need months before writing your first component.
First Concern
After some time, I realized that aside from my boilerplate and unoptimized React code, there was another annoying issue: CSS files became larger and harder to maintain. Only then did I discover the TailwindCSS framework, which simplified my implementation significantly. Having less code reduces the chance of making mistakes.
NOTE: You can’t make a mistake in code that doesn’t exist 😁
Maintaining the Project
This was the second reason why I chose Vite as a tool to include in my stack—and why I eventually migrated away from it 😅. It truly sped up my development workflow. Because there were no restrictions or dependencies from other projects, as a product owner, team lead, and developer all in one, I decided to include this tool for my "team of one."
In real projects, this process would involve negotiations with the team and, if dependencies exist, discussions with other teams. There would also be the question: Is it worth spending time learning a new tool? Will it bring enough benefits to justify the investment? Nobody knows until they try. In my case, I tried, and it was worth it.
Next.js Migration and Site Architecture
Next.js was chosen specifically for its Static Site Generation (SSG) capabilities.
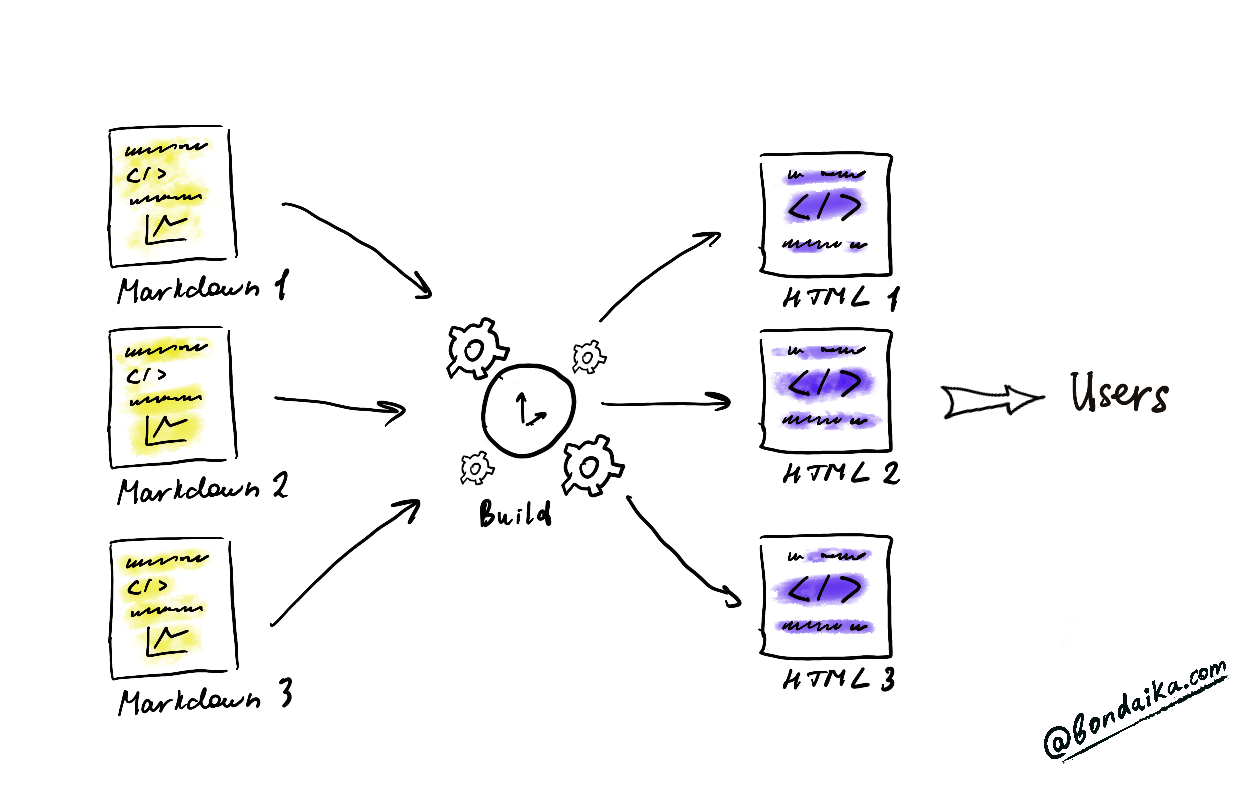
Static Site Generation (SSG) happens at build time. Pages are pre-rendered and served as static HTML files. The articles on my blog are not updated often, and dynamic updates are not required.
Deployment
Cloud deployment was selected because of lower maintenance costs and faster solutions. A few clicks, several dollars, and about two hours were all it took to deploy my website to the world.
As a recommendation, if you choose AWS (the most popular cloud provider today), I suggest using AWS Amplify. It’s cheaper and less complicated compared to EC2. The only thing you need to configure is the amplify.yml file.
1version: 1 2 3frontend: 4 phases: 5 preBuild: # prepares your environment and installs dependencies. 6 commands: 7 - npm install 8 build: # sets commands to build your production environment. 9 commands: 10 - npm run lint 11 - npm run build 12 - npm run sitemap 13 artifacts: 14 baseDirectory: .next # sets your build output folder path. 15 files: 16 - "**/*" # specifies files to deploy from baseDirectory. 17 cache: # cache build artifacts to reduce build costs. 18 paths: 19 - .next/cache/**/* 20 - node_modules/**/*
Learned Lessons
Building this website taught me several lessons that I want to emphasize:
- Beginning with an MVP approach helped me avoid burnout and focus on what truly mattered: content delivery.
- Clarify your goal before starting your project/task.
- A polished, usable product that meets your goals is better than an over-engineered, unfinished one.
- Iteration is key — improve as you go.
Last Updated: 25 Dec 2024